12-Minute Yoga Workout To Calm Your Stress and Anxiety
Is this how you’ve been feeling lately?

The struggle is real
We all get stressed and anxious from time to time.
Let’s see what we can do about relieving some of that.
One of the benefits of yoga is its ability to relieve stress and anxiety.
This yoga routine is designed to help alleviate your stress by applying some of yoga’s most important poses.
A workout like this is often just about working out your own personal kinks.
Who is the workout for?
- People looking to improve their mood
- People looking to relieve some stress and anxiety
Yoga and meditation are great at helping alleviate stress.
If you’re a complete beginner to yoga, make sure to check out our 5 simple yoga tips for beginners.
Here is an introduction into the poses along with instructions and tips on how to do them.
Try to hold each pose for 30 seconds. For two-sided poses (those that specifically work one side of the body – left or right), make sure to repeat the pose on the other side before moving on.
Try to cycle through all of the poses 3 times to complete the workout!
This post may contain affiliate links, which helps keep this content free. Please read our disclosure for more info.
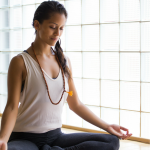
1. Lotus Pose (Padmasana)
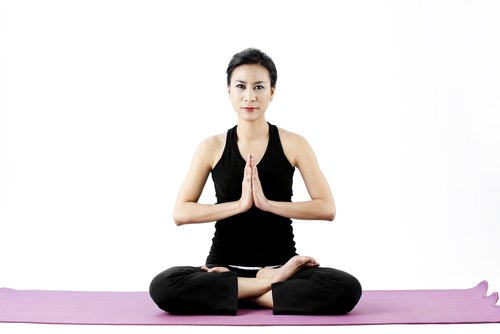
Begin in an Indian style position with your knees bent and legs folded. Pick your right foot up, and place it on top of your left thigh.
Bring your hands together at your heart. Keep your back straight, and make sure to repeat with the other foot.
This is the meditative pose that many people begin with in their practice. Think about why you are here and what you want to accomplish on the mat today.
2. Low Crescent Lunge (Anjaneyasana)
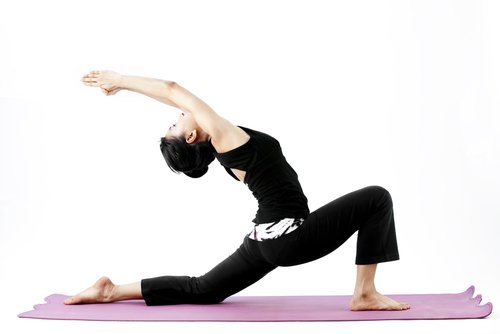
Your outstretched leg can be lifted or flat on the ground. Sometimes it’s easier to increase the stretch in the back when the outstretched leg is resting flat on the ground.
The deeper you can get into this stretch, the more you will open your hips and psoas. If you bring your arms further back and your gaze upward, you will bring the stretch more into your back.
Hold for 30 seconds. Repeat on the other side.
3. Tree Pose (Vriksasana)
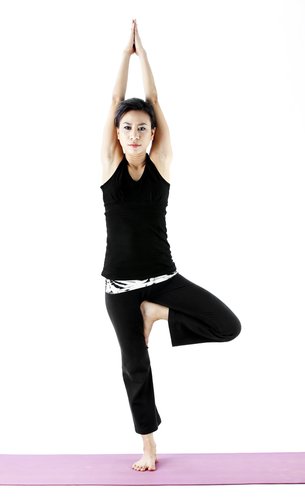
Don’t let this pose fool you. It’s much harder than it looks, especially if you struggle with balance.
Shift your weight to the right foot while slowly lifting your left foot to the inside of your right leg. Try to raise the heel as high up on your leg as you can.
Keep your hands at your heart to help with balance or raise them straight up over your head to challenge yourself even more.
Hold for 30 seconds to a minute and repeat with the other leg.
4. Lord of the Dance Pose (Natarajasana)
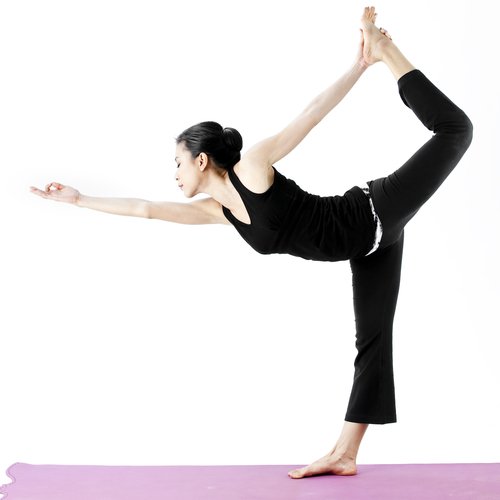
Begin standing with your feet shoulder-width apart and your arms at your sides (Tadasana, or Mountain Pose). Slowly reach your right arm forward and parallel to the ground for balance.
Bend your left knee while still keeping your thighs together. Hold onto your left foot with your left hand. As you slowly lean your upper body forward, begin opening the angle of the left knee. Arch your back for support and balance.
Try to keep your right leg straight, and reach out through your right fingertips and your left toes to increase the stretch.
5. Revolved Side Angle Variation (Parivrtta Parsvakonasana)
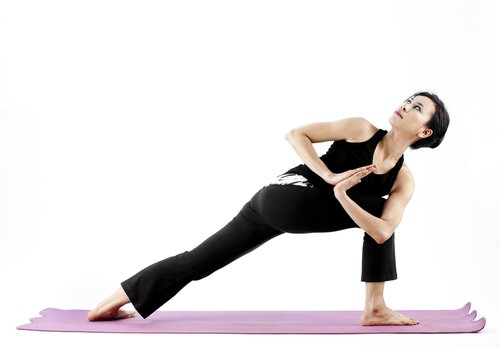
Begin in crescent lunge (above) with your right knee forward. Bring your hands together at your heart, and slowly reach your left elbow down to your right knee.
Try not to put too much weight into resting on your knee, rather allow your body to feel the stretch and rely on your core to keep you in position.
Hold for 30 seconds.
6. Cow Pose (Bitilasana)
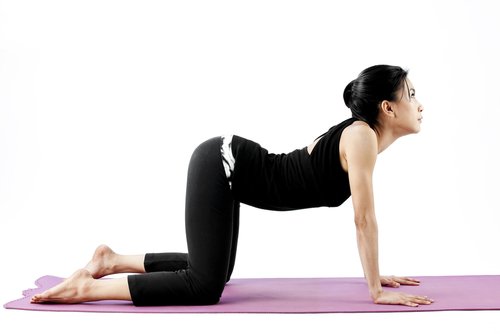
These next 2 are great beginner poses!
Start with your knees bent directly below your hips and your hands placed firmly on the mat below your shoulders.
As you exhale, raise your glutes and your chest towards the ceiling while your stomach falls towards the floor. Lift your head up to look straight ahead of you.
Combine with Cat Pose (below), and make sure to exhale on cow pose and inhale on cat pose.
7. Cat Pose (Marjaryasana)
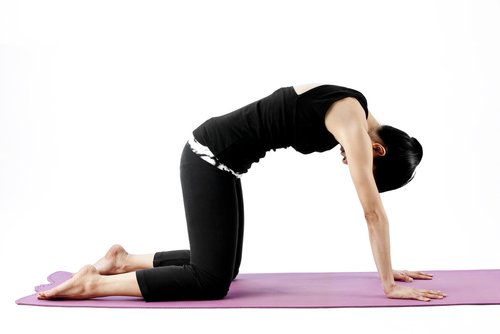
Begin the same way as cow pose, with your knees bent directly below your hips and your hands placed firmly on the mat below your shoulders.
As you inhale, round your spine up towards the ceiling. Let your head fall a bit, but don’t force your chin to your chest.
Combine with Cow Pose (above), and make sure to exhale on cow pose and inhale on cat pose.
8. Child’s Pose (Balasana)
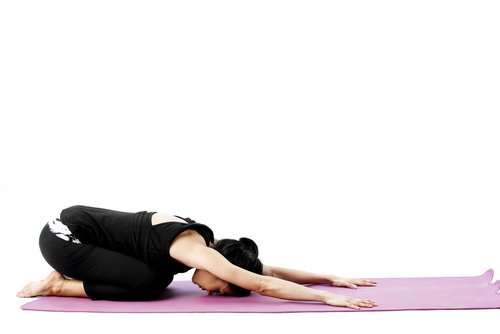
Begin kneeling on the floor and sitting on your ankles. Gently lean forward until your forehead touches the ground. Your arms can be straight out in front of you or behind you.
This is the “rest” pose in yoga. It’s a restorative pose that you should come back to any time you strain yourself too much or just want a break. Concentrate on breathing deeply and concentrate on filling your lower torso up with air.
Remember that for this workout, you will hold each pose for 30 seconds before moving onto the next pose
Complete all 8 yoga poses, then repeat the workout 2 more times, making sure to switch up the sides of the body.
Feel free to stay in any of the stretches for longer than 30 seconds if it feels good on your body or you think you need it.
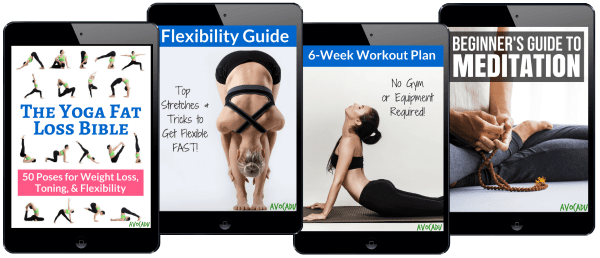
If you liked these poses for beginners and are feeling a little lost about how to start a regular yoga practice, you should check out our Yoga Fat Loss Bible for Beginners!
It’s a great solution around for those looking to lose weight, get more flexible, and relieve aches and pains with a calm yoga practice. It also comes with a free meditation guide for beginners that will help you let go of your worries and relieve stress and anxiety.
It has detailed instructions and beginner modifications for your practice + a 6-Week Workout Plan any beginner can start with!
You can check it out by clicking here!
Always remember that the most difficult part of doing yoga SHOWING UP. Make sure to show up today and give your best to this workout. You deserve it!
Leave a comment below if you enjoyed this article or have any questions!
LOVE the photo at the beginning!!!